1.windows
此命令会将当前代码打包成一个可执行文件 .exe
pyinstaller --onefile app.py2.linux
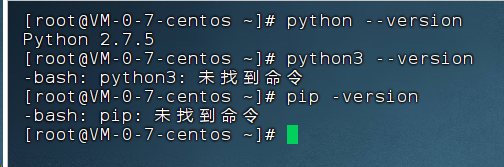
1.查看当前python 和pip 版本 版本:python --version or python3 --version pip -version
2.安装pip
# 下载2.7 版本的pip
curl https://bootstrap.pypa.io/pip/2.7/get-pip.py -o get-pip.py
# 安装pip
python get-pip.py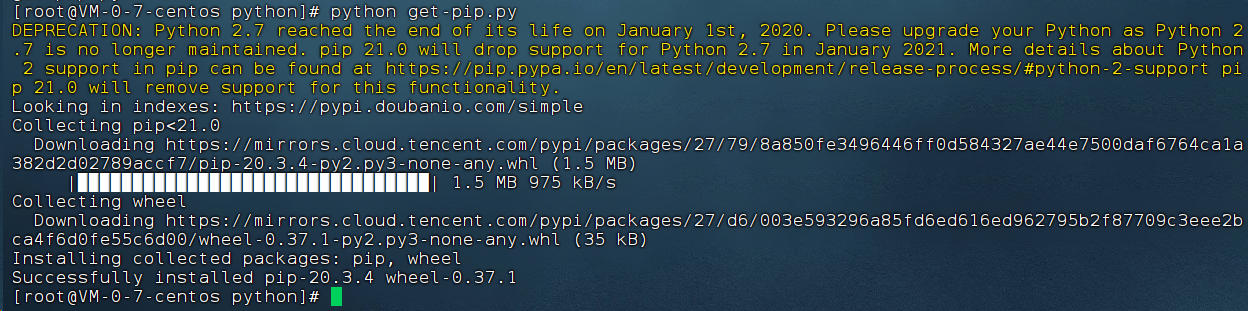
3.安装conda
curl -o Miniconda3.sh https://repo.anaconda.com/miniconda/Miniconda3-latest-Linux-x86_64.sh
bash Miniconda3.sh
# 禁止自动启动base 环境
conda config --set auto_activate_base false
4.创建虚拟环境
v5.将项目发送到服务器
scp -r 本地文件地址 用户名@地址:发送到服务器地址6.启动 web3plus 环境 并下载依赖
# 启动环境
conda activate web3plus
# 下载依赖
pip install -r requirements.txt
7.创建web3plug.service
需要将该文件放在 /etc/systemd/system/ 文件夹下,确保 system 能够扫到
[Unit]
Description=Gunicorn FastAPI Application
After=network.target

[Service]
User=your_user
Group=your_group
WorkingDirectory=/path/to/project
ExecStart=/bin/bash -c "source /opt/python/miniconda3/bin/activate web3plus && gunicorn -w 4 -k uvicorn.workers.UvicornWorker app:app -b 127.0.0.1:9880"
Restart=always

[Install]
WantedBy=multi-user.target
8.启动项目
# 每次 对.service 文件有写操作之后 需要重新加载
sudo systemctl daemon-reload
# 启动 .service 文件
sudo systemctl start web3plug.service
# 查看服务状态
sudo systemctl status web3plug.service

# 查询端口占用
sudo netstat -tulnp | grep 9880